Blog Detail
19
Jan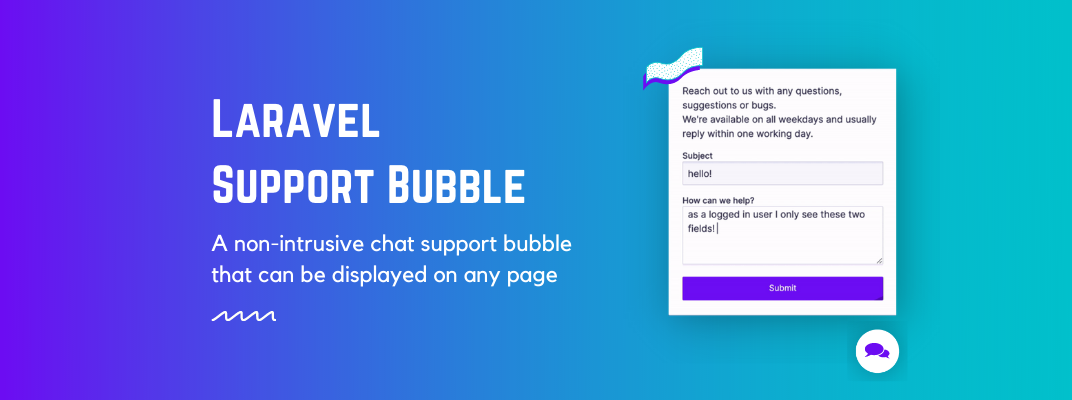
arrow_back Quickly Add a Non-intrusive Laravel Chat Bubble on Any Page
Laravel Support Bubble is a package by Spatie which offers a non-intrusive support bubble that can be displayed on any page. Using this package you can quickly add a chat bubble that opens a support form on any page. It comes with batteries included:
- It offers
TailwindCSSstyling out of the box. - It won’t ask for user information if there’s a logged-in user.
- It includes some metadata like URL and IP address.
- It can easily be extendable using custom views, language files, and event listeners.
- It has Honeypot included and set up to keep spammers at bay.
Installation
You can install the package via composer by running this command:
composer require spatie/laravel-support-bubble
Include TailwindCSS
The views included in this package all use TailwindCSS classes. We’ve stuck to the default Tailwind config classes. If you’re not already using TailwindCSS, you can easily include it from their CDN:
<link href="https://unpkg.com/tailwindcss@^2/dist/tailwind.min.css" rel="stylesheet">
If you use Tailwind Just-in-Time Mode you should add these additional lines into your tailwind.config.js file:
purge: [
    './vendor/spatie/laravel-support-bubble/config/**/*.php',
    './vendor/spatie/laravel-support-bubble/resources/views/**/*.blade.php',
    // other places
],
This way Tailwind JIT will build your styles including those properties used for the support bubble.
Add the component to your view
After installing the package, you need to add the x-support-bubble Blade component in your relevant view files. If you want it to show up on all pages you can add it to your layout.blade.php file.
Next, you need to register the support form’s route. Add the following macro in your routes/api.php file:
Route::supportBubble();
This will register a route at /support-bubble
This package is not using CSRF tokens so make sure you add the route macro to your apps API routes or add an exclusion in the VerifyCsrfToken middleware.
// in app/Http/Middleware/VerifyCsrfToken.php

namespace App\Http\Middleware;

use Illuminate\Foundation\Http\Middleware\VerifyCsrfToken as Middleware;

class VerifyCsrfToken extends Middleware
{
    protected $except = [
        'support-bubble',
        // other entries
    ];

    // ...
}
Configure message destination
Finally, you need to decide where you want to send the support bubble’s submission to.
Out of the box, the package can mail the submissions to a given email address. To go this route, publish the config file and enter the email in mail_to.
Alternately, you can register an event listener to listen for the Spatie\SupportBubble\Events\SupportBubbleSubmittedEvent event and handle it yourself. This event has submitted form values as public properties.
The config file can be published with:
php artisan vendor:publish --provider="Spatie\SupportBubble\SupportBubbleServiceProvider" --tag="support-bubble-config"
Customization Options
The support bubble should look pretty good out of the box. However, we’ve documented a couple of ways to customize labels, text, views, and functionality.
- Customizing form fields
- Customizing views
- Customizing support from destination
- Customizing text/localization
- Customizing styles
- Customizing behavior after submitting (advanced)
You can see the details of all the customization options with code examples on Github.
Published at : 19-01-2022
Rizwan Aslam
I am a highly results-driven professional with 18+ years of collective experience in the grounds of web application development especially in laravel, native android application development in java, and desktop application development in the dot net framework. Now managing a team of expert developers at Codebrisk.

Launch project